Thursday, 13 December 2012

My Yellow Velo


My first velo
5'2" x 22 1/2" x 2 1/4"

TOP
2 layers of 4 oz fibreglass flush with rails
1 layer of Carbon Fibre flush with rails
2 layers of 4oz fibreglass wrapped around rails

BOTTOM
2 layers of 4oz fibreglass
2 layers of Carbon Fibre
2 layers of 4oz fibreglass


Velo flex spoon kneeboard
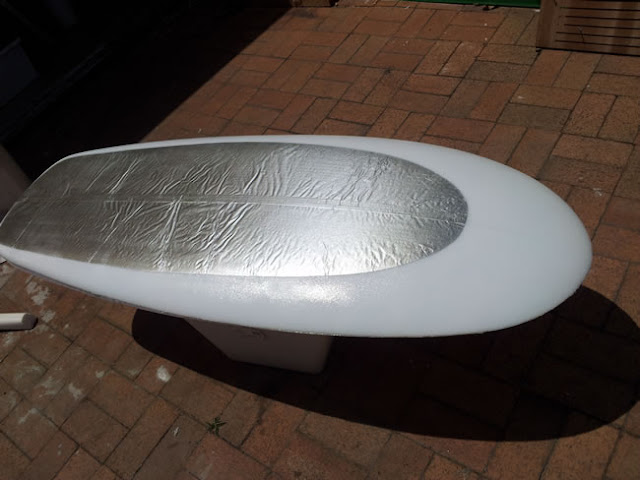
I have finished shaping the bottom and used an aluminium foil insert to provide the inner dimensions of the cut out.
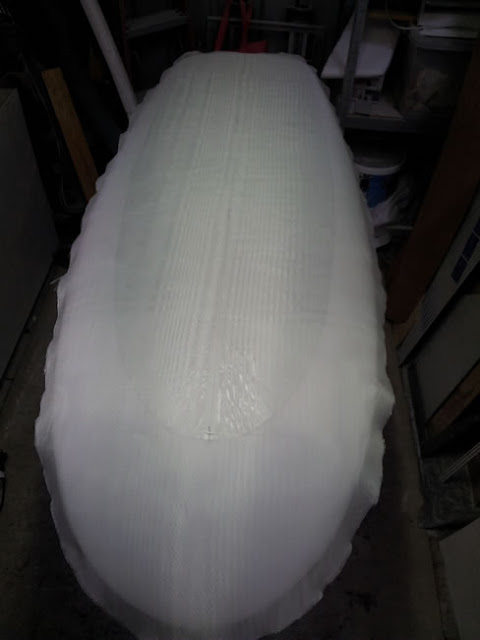
I will cover the foil with 2 layers of 4oz glass and resin them.
Once the first layers of glass have dried I will turn it over and cut out the inner shape and the cut out will fall out.
No sanding!!!! just the rails.


flex spoon kneeboard velo
2 layers of 4oz glass over the foil, only because I don't have 6 oz.

flex spoon kneeboard velo
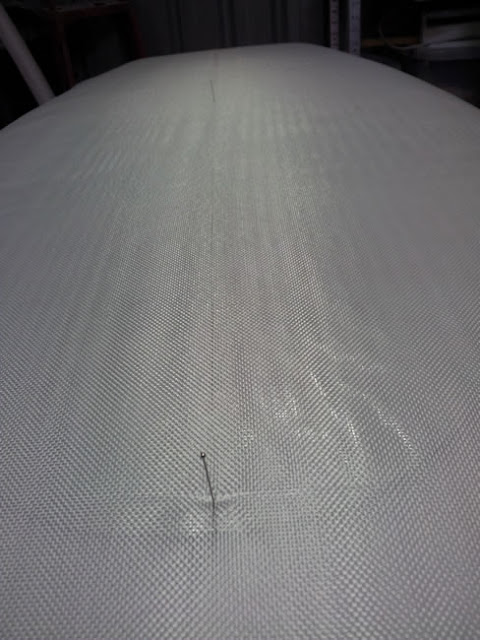
I've used pins to hold the foil and glass in place while I resin it.

flex spoon kneeboard velo

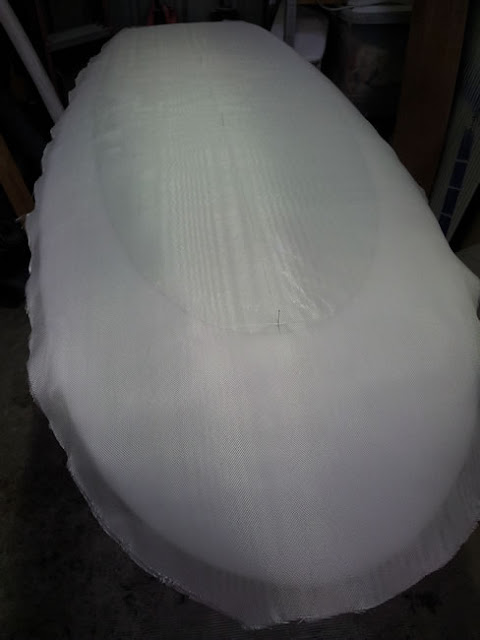
The edge has been taped up level with the bottom edge rail. I didn't use the top rail, as this gives me more foam to shape the top rail. Once it is resined I will trim the excess cloth back to the green masking line before putting it in the sun.

flex spoon kneeboard velo
Using sun cure resin. Don't be deceived by the aluminium foil marks. They don't appear in the glass. They are an illusion.


Added the first layer of carbon fibre to the bottom. Now have 2 x 4oz and 1 x carbon. I didn't put the carbon all the way up the nose because I wanted to save on carbon and don't believe the nose area will need the additional rigidity. I will do the same on the deck.


Cutting out the core


All done. The centre falls out and I'll make my granddaughter a kneeboard out of the centre piece.


Just got to remove the foil, which easily peels off and I can finish shaping the inside rails.


I've put the first 2 layers of 4oz on the deck and covered with my special nail board to hold the board flat.


you can see the nails from the rear of the board.


5' 1 1/4" x 22 1/4" @ 9lb. 3 layers of carbon & 7 layers of 4oz fibreglass